How to Get Started
3 Steps to Tool Tracking Success
Step 1: Get Organized
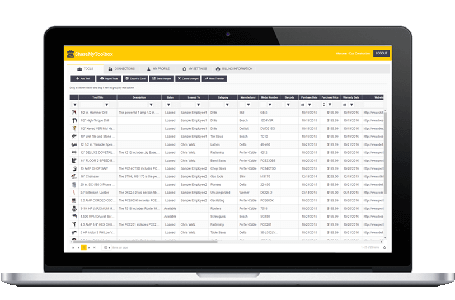
Tool Catalog List
The first step in setting up a mobile tool tracking system is to setup a tool catalog. You can build your tool catalog in ShareMyToolbox three ways;
-
- by importing a list from Excel
- by entering tools in our web interface or
- by adding tools with a mobile device.
Gather the tool list by first counting tools at job sites. You can take a picture of each tool as you enter them. As you complete each job audit assign the tools to a virtual location to establish an initial assignment. With the job tools documented, complete a tool audit on the warehouse and you will have a complete inventory.
Manually Enter Tools
Import tools from Excel
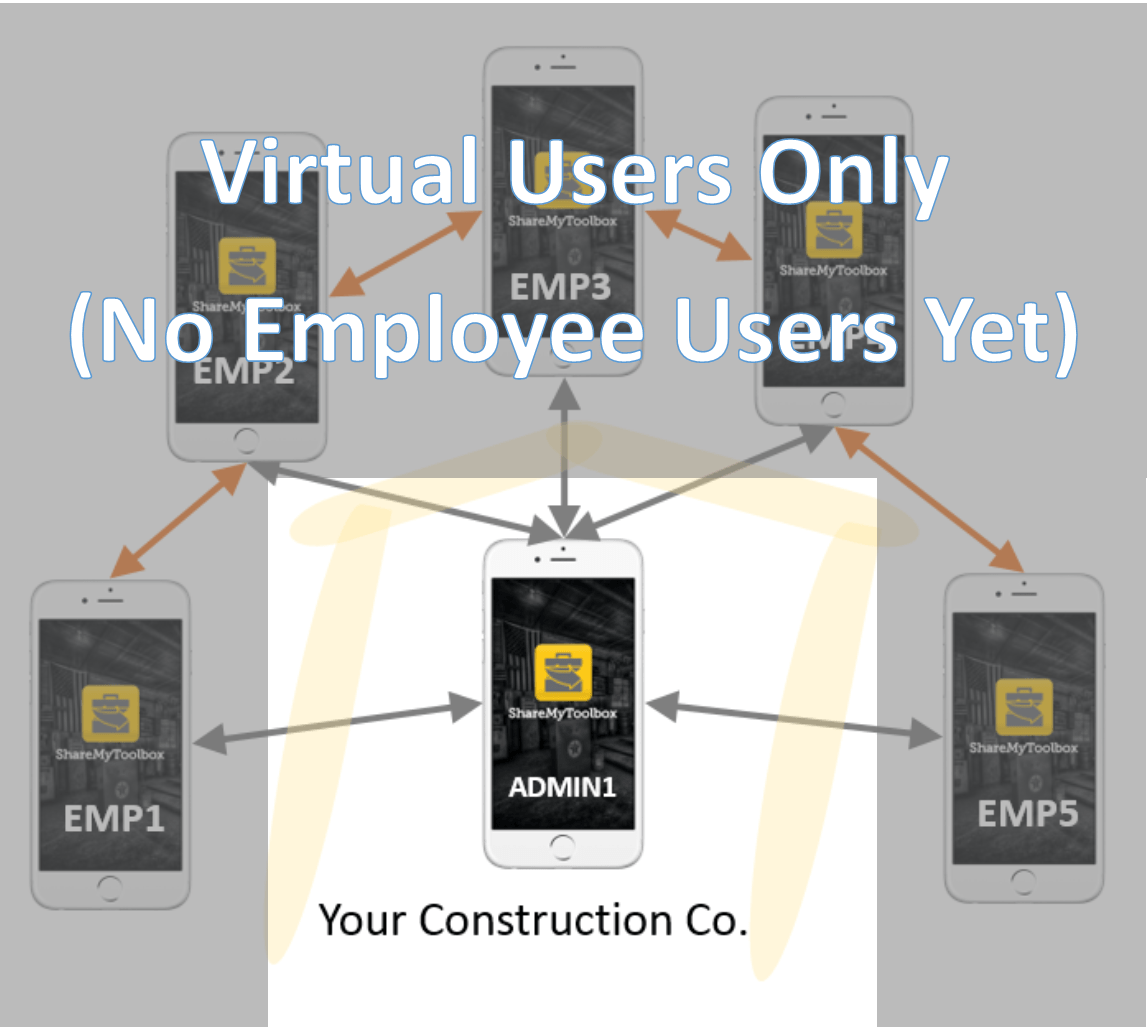
Virtual Connections
To speed the initial system setup you don't need to setup field users or employees at the start.
ShareMyToolbox offers a unique function which enables you to setup "virtual connections" to which you can assign tools and equipment. These virtual locations can be job sites where tools are kept, trailers or users who are responsible for tools. These virtual connections allow the admins of the system to assign tools and keep track of who has each tool without involving other personnel in the company.
Setup Only Virtual Users
Admin Users Handle All Assignments
Step 1 Wrap Up
Step 2: Add Visibility
Setup Employee Users
To expand visibility into the central tool catalog field users can be setup with a role of "employee". This role gives them the ability to search and find tools but they cannot edit or delete tools.
Admins can setup employees and send them login instructions by e-mail. The admin can then mass transfer tools from the associated virtual location to the employee. This effectively assigns the tools to each employee. (Usually a superintendent, foreman or technician.)
The employee accounts can be setup with "auto-accept" on. This allows admins to continue to assign tools to the employee and the employee does NOT need to accept them. They simply can see what has been assigned and search for what is available.
Transfer Is Still Handled by Admin
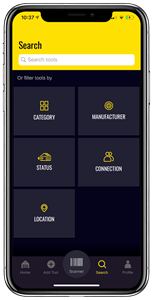
Field Transfer
Fast search from phone
Field Can View Tool List Assigned
Minimal Requirements on Field Users
Step 2 Wrap Up
Step 3: Build Accountability

Warehouse Assigns
In this final step you begin using more of the built in workflow patented by ShareMyToolbox.
The warehouse locates a tool by barcode scan or by searching for it by name. Once selected, the tool is assigned to the employee with the swipe of a finger.
If you choose to implement barcodes ShareMyToolbox makes it simple. We take over the camera built into each phone to scan barcodes so no expensive proprietary hardware is needed. Everyone has a barcode scanner in their pocket!
Tablets & phones
Barcode or text search
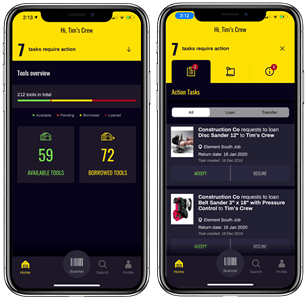
Employee Accepts
Building on step 2 in this step employee role accounts are changed from "auto-accept" to require manual tool acceptance.
With this change a tool assigned from the warehouse requires the employee to “accept“ the tool when they receive it. This helps establish responsibility for the tool with the employee. Acceptance is quick and easy but is critical to establishing accountability. When a tool is assigned the app will trigger an alert on the employee's phone for them to "tap accept".
At this stage employees can also begin transferring tools to each other without the admin's involvement. Because each transfer is "accepted" by each employee there is still an in & out control for each tool movement.
Employees "Accept" Each Tool
Increase responsibility
Mission Complete
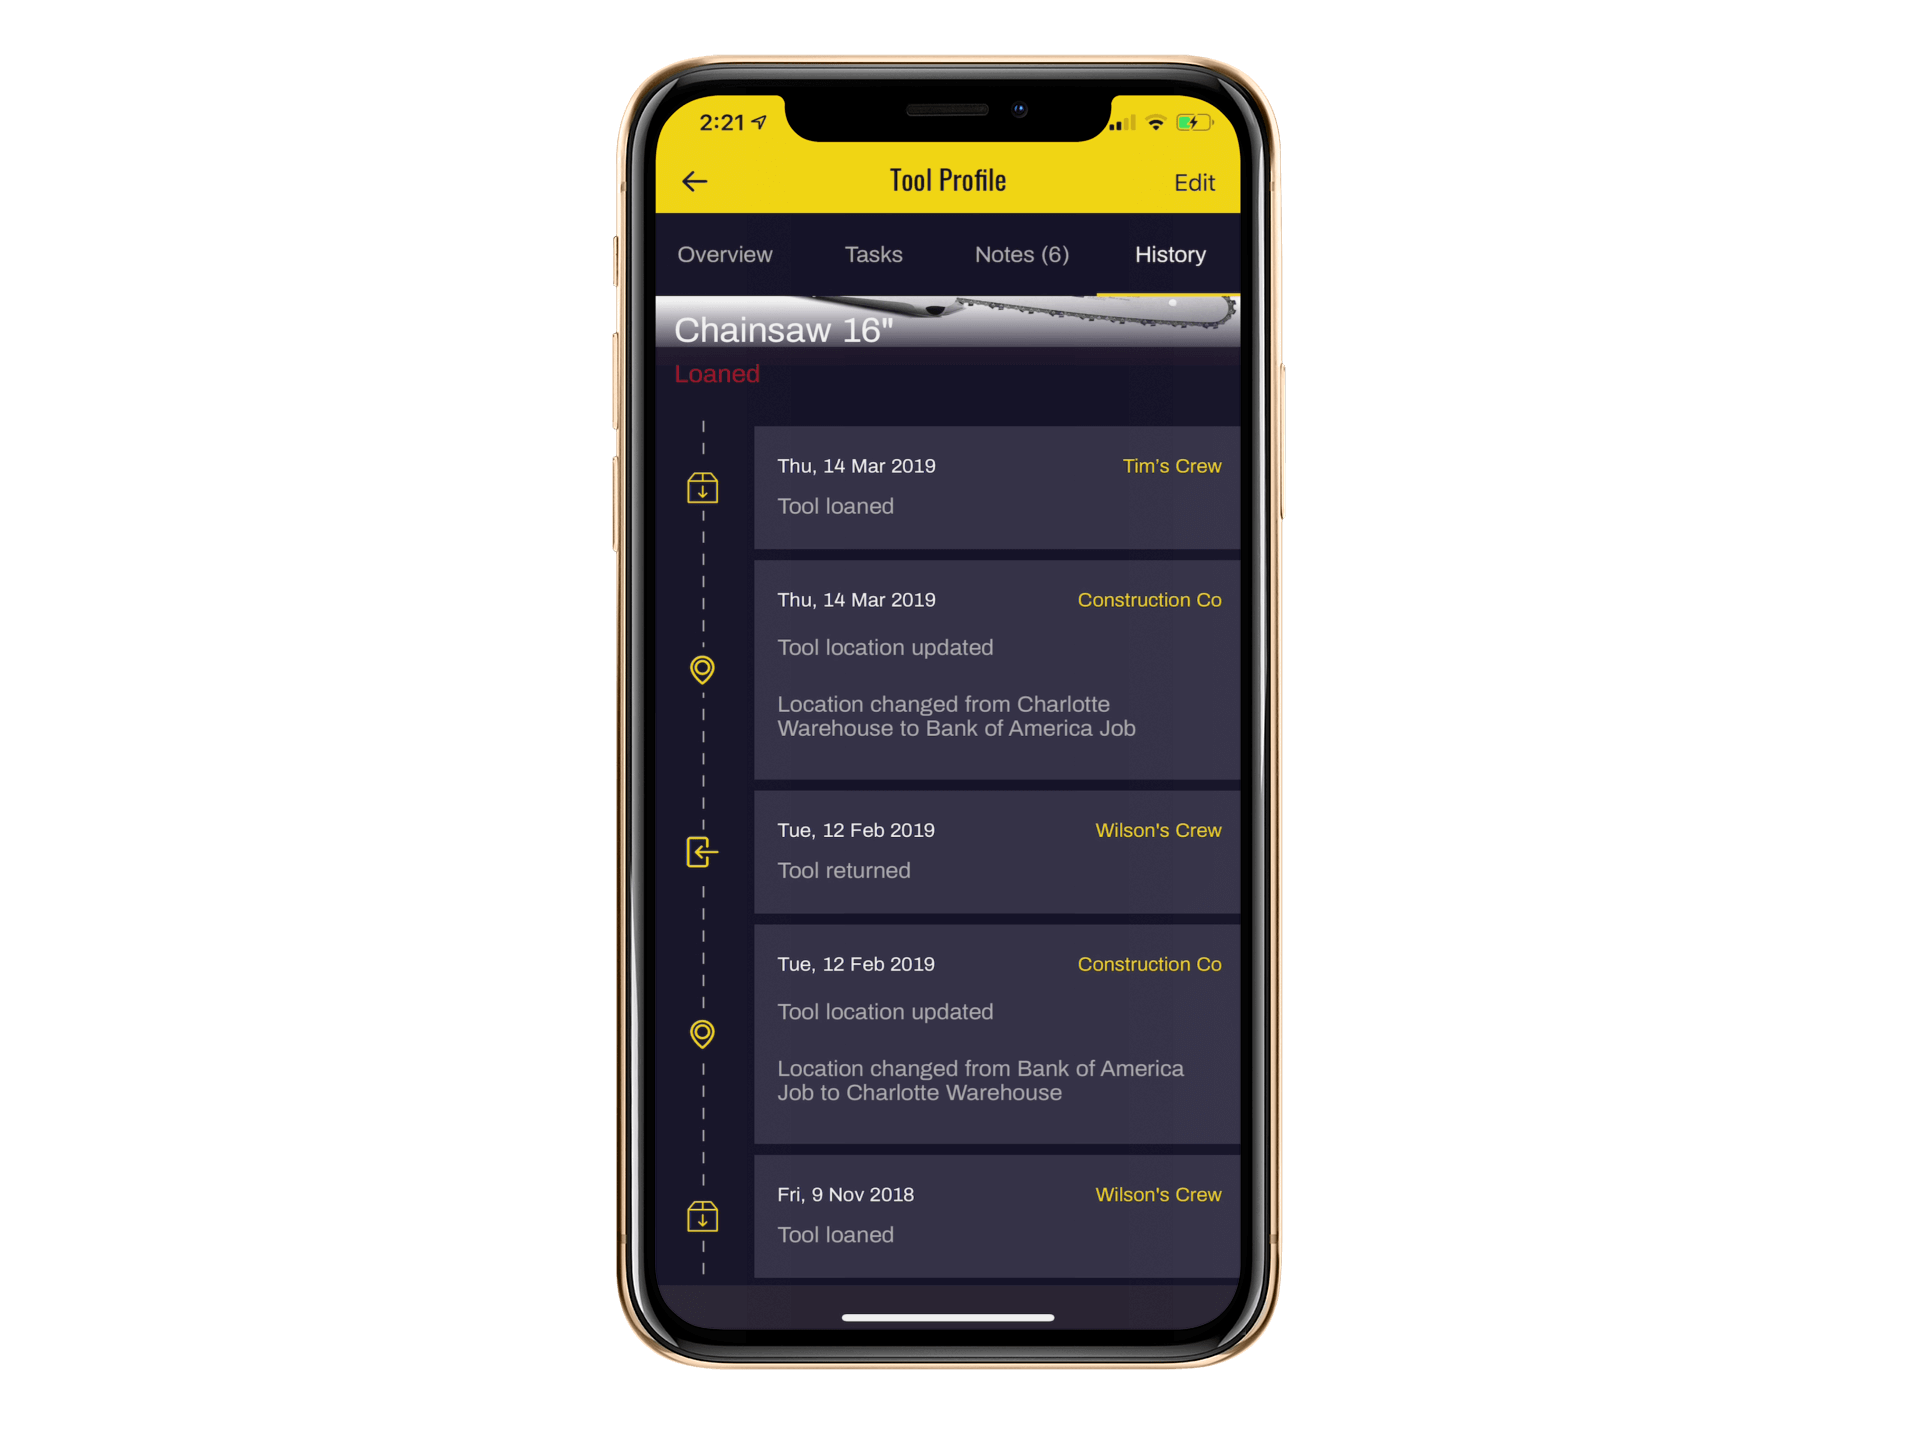
Full History
History on mobile device
History in web portal
Track Calibration History
Track Maintenance History
Analyze Information
Sort, Filter & Group in Web
Export to excel as needed
Unlimited Hosting Storage
Click Here
To Watch Videos!
Back to Tool Inventory App Screen.
Click here to learn more about How to Track Tools in Construction?